DIY: sublimating drinking bottles
By Valerie van der Klift | Last updated 13 December 2022

"Personalized drinking bottles are popular. And the best part is, these are super easy to make! In this article, you’ll read all about the equipment you will need, how it works as well as useful tips for the best results."
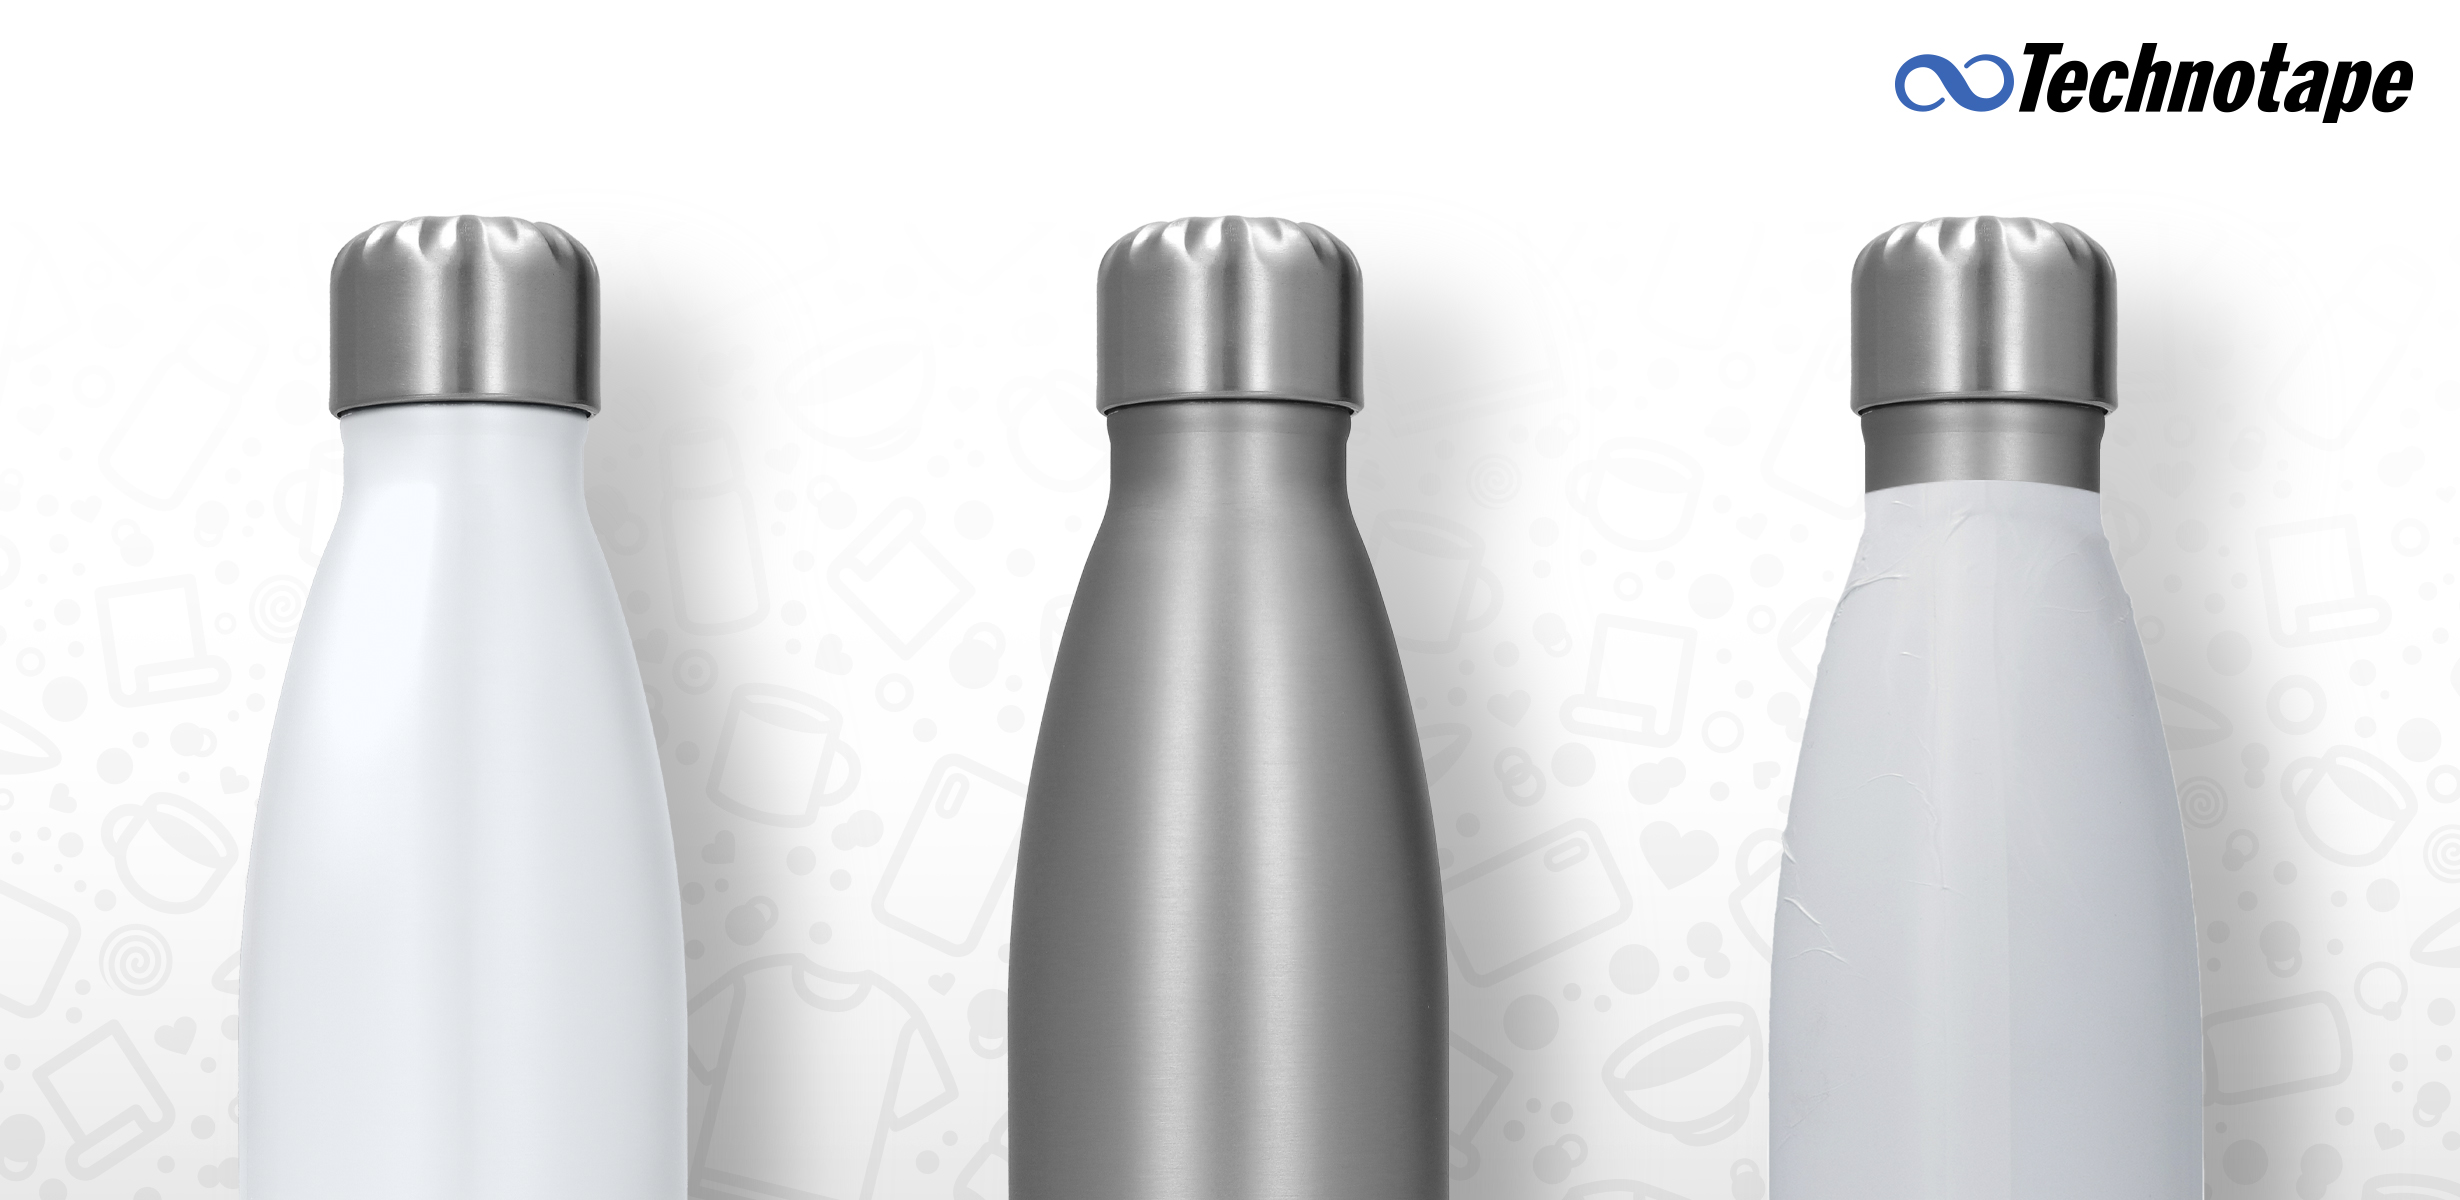
There are different types of bottles that you can decorate using sublimation. In our product range, you will find lightweight aluminum bottles as well as double-walled thermos bottles made of stainless steel. All of these bottles have a transparent polymer coating, making them suitable for sublimation printing.
2 options to sublimate bottles
If you want to sublimate bottles, know that you have 2 options:
- With the Bottle Press or Multipurpose Press
- With the Sublimation Oven and Shrink Film
Both options provide the same beautiful result. However, there are indeed differences to take into account. In this article, you can read what the differences are, including the advantages and disadvantages: What is better? Sublimation using a press or an oven and shrink film?
Checklist: what do you need to sublimate drinking bottles?
OK, let's get started! If you want to sublimate drinking bottles, you need 3 things:
- Blank sublimation bottle
- Sublimation printer
- Multifunctional, Bottle Press or Sublimation oven with shrink film
Sublimating drinking bottles, explained step by step
Whether you choose the press or shrink film and use the oven, both options are easy! Below you can read the steps to be performed, in a detailed step-by-step plan.
Sublimate bottles with a press
Preparation:
- Place the appropriate heat mat in the Bottle Press or Multipurpose Heat Press.
- Adjust the press to the desired bottle and temperature
Getting started with the bottle press:
- Print the desired design with the sublimation printer, and let it dry for 2 minutes
- Place the printed design on the bottle using heat-resistant tape
- Press start, then immediately place the bottle in the press
- Close the press and start the timer (70 seconds)
- Remove the bottle after 70 sec. from the press, the press gives a long beep
- Immediately remove the print from the bottle in one smooth motion
- Cool the bottle by placing it in cold water or cool air
Sublimate bottles with shrink film and an oven
Preparation:
- Remove the basket from the oven. Most bottles are too tall and won't fit upright
- Test whether the desired bottle fits upright in the oven. What if it doesn’t fit? Then place it horizontally on heat-resistant supports. The fewer pressure points, the better
Getting started with a sublimation oven:
- Print the desired design with the sublimation printer on sublimation paper, and let it dry for 2 minutes
- Place the design on the bottle using heat-resistant tape
- Place the shrink film around the bottle
- Heat the shrink film with (for instance) a hair dryer so that the film fits the bottle, tightly all around
- Place the bottle in the preheated oven and start the timer
- Remove the bottle from the oven once the printing process has completed
- Remove the shrink film immediately while it is still hot
- Then, immediately remove the print from the bottle in one smooth motion
- Cool the bottle by placing it in cold water or cool air
Tips for the best end result
- Use the recommended heat, pressure and time settings for the press or oven. The optimal settings differ per product. These recommended settings can be found on the product pages on our website
- When using shrink film, make sure that the film covers the print completely and fits the bottle tightly. Sometimes the oven can become dirty over time. If that is the case, residual ink can 'float' and end up in the coating of the product
- And, with shrink film, be aware that it can stick to other places. Think of the steel parts of the bottle that are not coated, and the bottom of the oven. To prevent this from happening, we advise you to cover the non-coated steel of the bottle with heat-resistant tape. And, to protect the bottom of the oven with a PTFE sheet
Technotape is the sublimation wholesaler
At Technotape, you will find everything you need to sublimate bottles and many other products. We offer a wide variety of sublimation blanks, sublimation printers, heat presses and consumables.
Articles Similaires

Top 5 Produits Sublimables pour Créer des Designs Effrayants pour Halloween
À l'approche d'Halloween, c'est le moment idéal pour faire le plein de produits sublimables qui captiveront vos clients. Des mugs magiques aux chaussettes festives, nos 5 meilleurs produits sont parfaits pour créer des articles uniques sur le thème d'Halloween. Voici un aperçu de chacun d'eux.

Comment créer des articles personnalisés pour l'automne avec la sublimation?
Alors que les couleurs vives de l'automne commencent à peindre le paysage, c'est le moment idéal pour introduire des produits saisonniers qui évoquent les sentiments chaleureux et réconfortants de la saison. La sublimation offre des possibilités infinies de personnalisation, permettant aux entreprises de créer des articles uniques sur le thème de l'automne que leurs clients adoreront. Dans ce blog, nous explorerons cinq thèmes populaires de l'automne et comment vous pouvez les exploiter avec des produits de sublimation spécifiques de notre collection.


