
Receive the newsletter
Subscribe to the Technotape newsletter to get essential news and information delivered straight to your inbox.
Sign up for our newsletterTags
Print photo tiles using sublimation
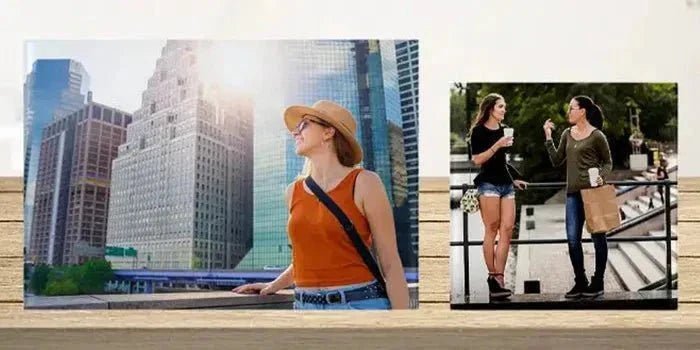
"A picture is worth a thousand words. And that is exactly why photo tiles are so much fun! Print the most beautiful stories on a tile, and put them on the cupboard or hang them on the wall. A love story, travel adventure or, maybe something that inspires you. Whatever the story, it fits on a tile."
What Are Sublimation Photo Tiles?
The sublimation tile is made of ceramic, with a white top layer and a high-gloss coating. Realistically, this tile is indeed the same as a regular wall tile that you have in your kitchen or bathroom. So why can't you ‘just’ get a box of tiles from the hardware store? We are happy to explain why you cannot use hardware tiles.
Sublimation tiles have a special polymer coating. Due to the heat and pressure of the sublimation process, this polymer coating absorbs the sublimation ink. As soon as the tile cools down again, the coating 'closes'. As a result, the print does not form a layer on top of the tile, but it is actually inside the tile itself. The final result? A beautiful and durable photo product, with bright colours, sharp lines and smooth transitions.
Checklist: what do you need to sublimate tiles?
- Blank sublimation tiles – see our photo tile range
- Sublimation printer & transfer paper – browse our printers and media
- Flat heat press – choose from manual to pneumatic models in our heat press collection
Six-Step Sublimation Workflow
- Print the design using the sublimation printer.
- Set the correct time and temperature on the heat press. You can find this information on the product page of the website.
- Use a towel, fold it in half, and place it on the press plate. Then, place the tile or slate on top. Determine the pressure (light/medium) and preheat the tile or slate if possible.
Tip: Place a PTFE sheet on the towel for an even print and to protect the towel. - Place the print with the design facing up on the towel. Lay the slate face down, with the white sublimation side down, on the print (heat-resistant tape is not needed).
- Start the sublimation process by activating the heat press.
- Depending on the size of the tile, press for 240 to 300 seconds (slate for up to 480 seconds). Please refer to the online product description for each item.
Tip! Use the recommended settings for the printing process
For the best results, we advise you to use the recommended heat, pressure and time settings of the press for the tiles. The perfect settings differ per sublimation blank. Go to the page of the blank, here you find an overview with the recommended settings of the heat press.
This blog is written by

Lorenzo de Jongh
Receive the newsletter
Subscribe to the Technotape newsletter to get essential news and information delivered straight to your inbox.
Sign up for our newsletter